FINALLY...Oriental Tote

Firstly,this is my 200th post. Woohoo!!
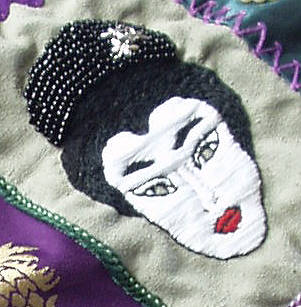
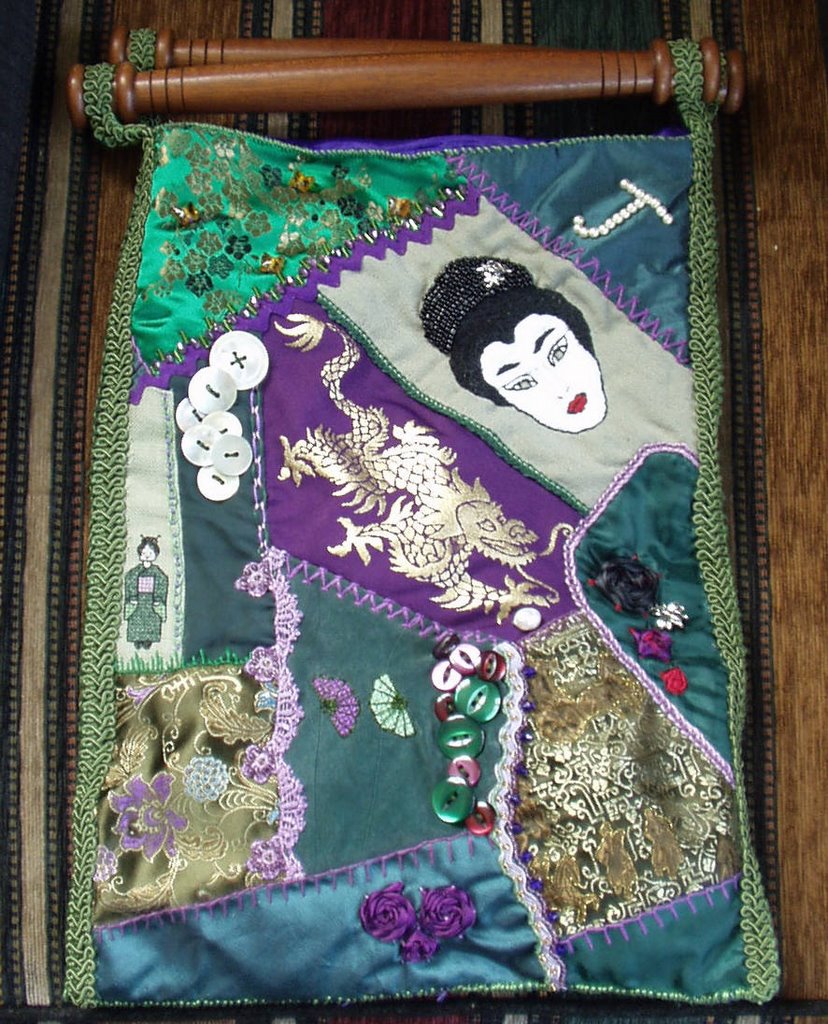
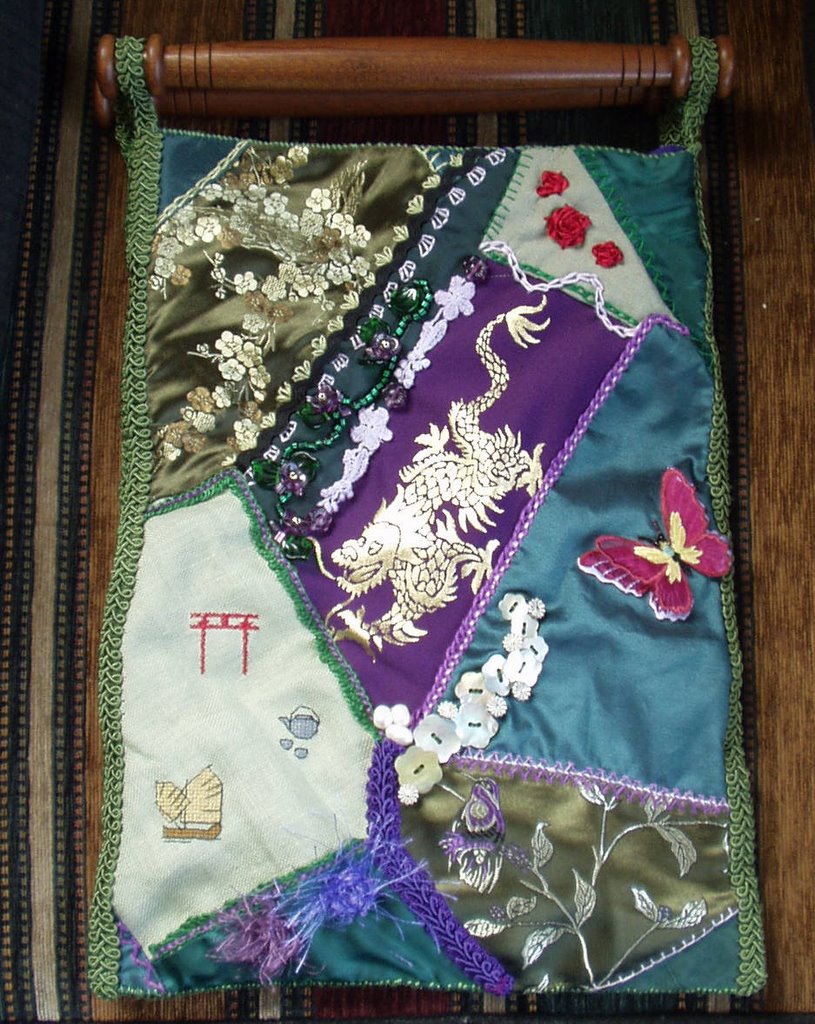
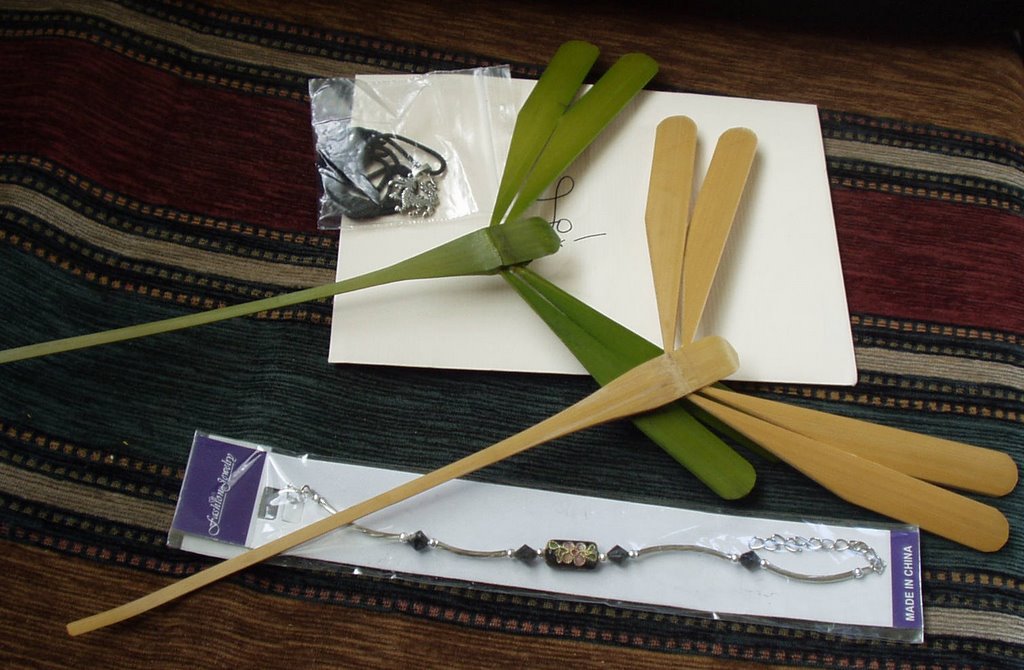
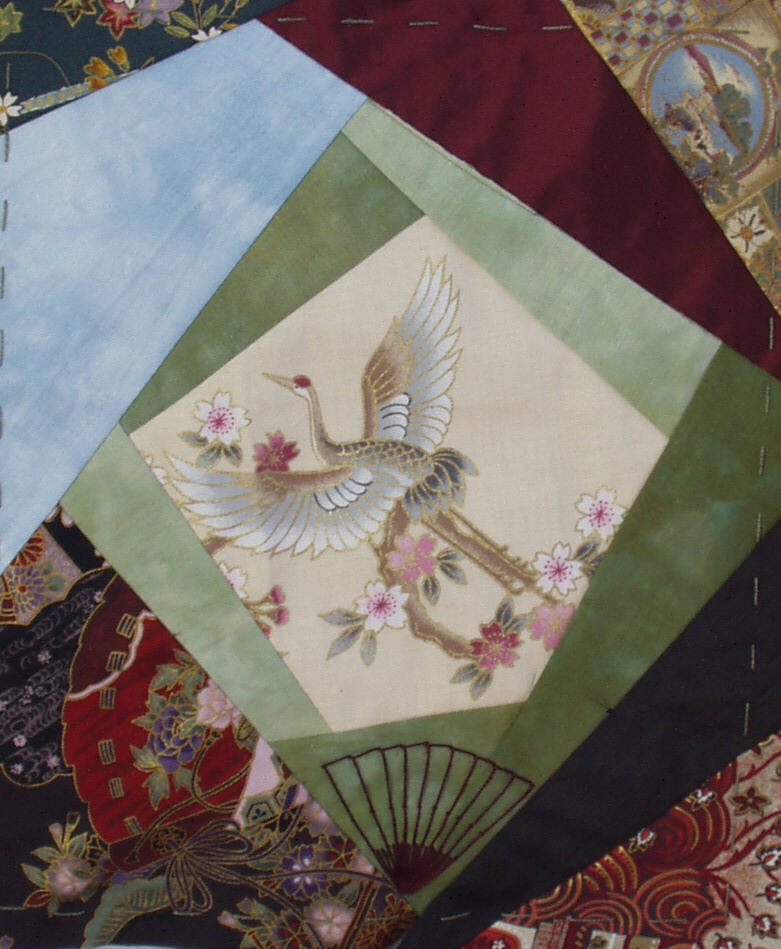
My Oriental Tote has finally arrived with it's new owner, Elizabet, in the UK, and I can post pics. I am really in love with this bag, and I miss it, but I have an equally great one to replace it. I have lots of pics, so enjoy. My absolute favourite motif is the tree. Everything looks great against that blue background! Elizabet professes love for the bag to, which is a relief. It's always a worry whether your swap partner will like what is made.
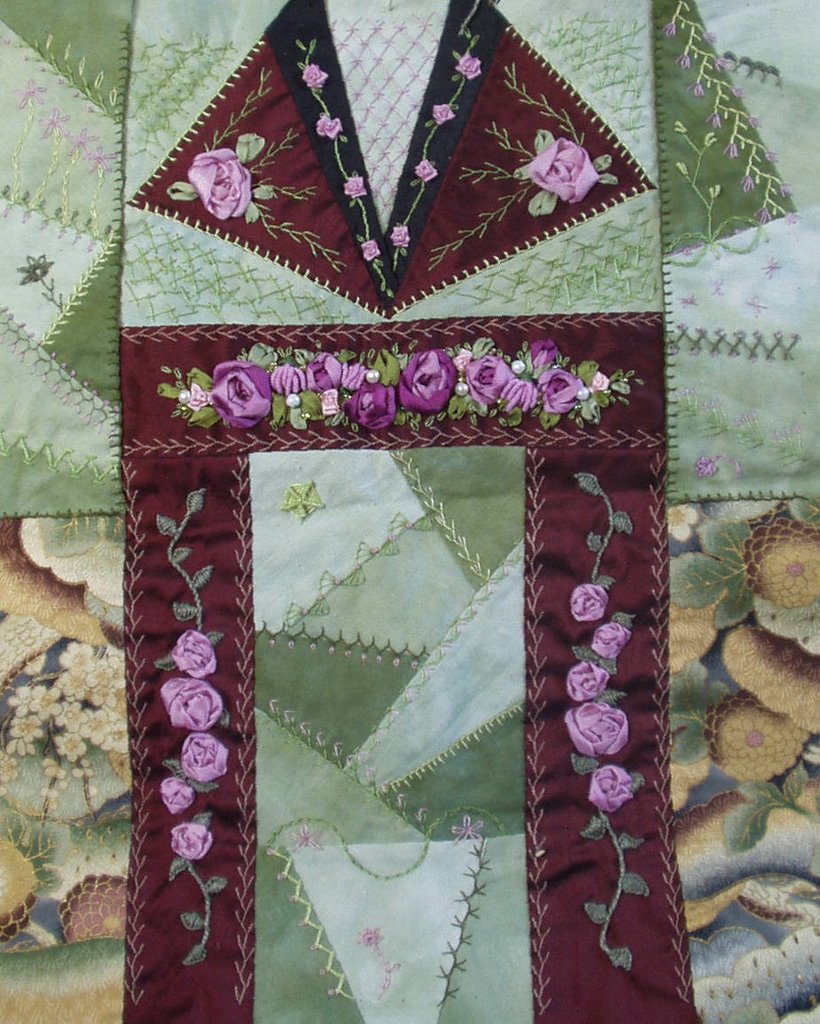


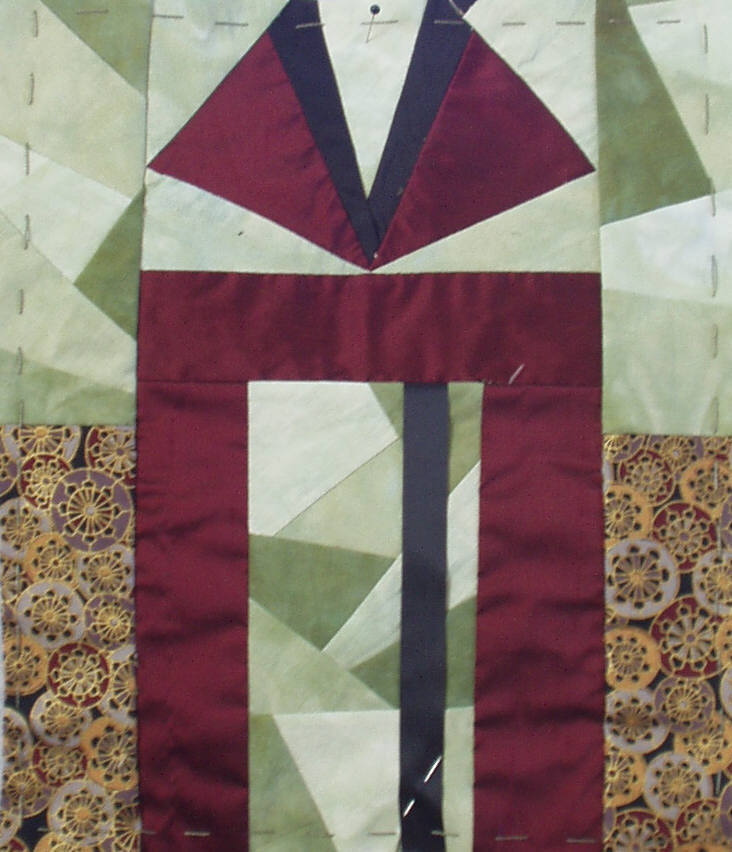
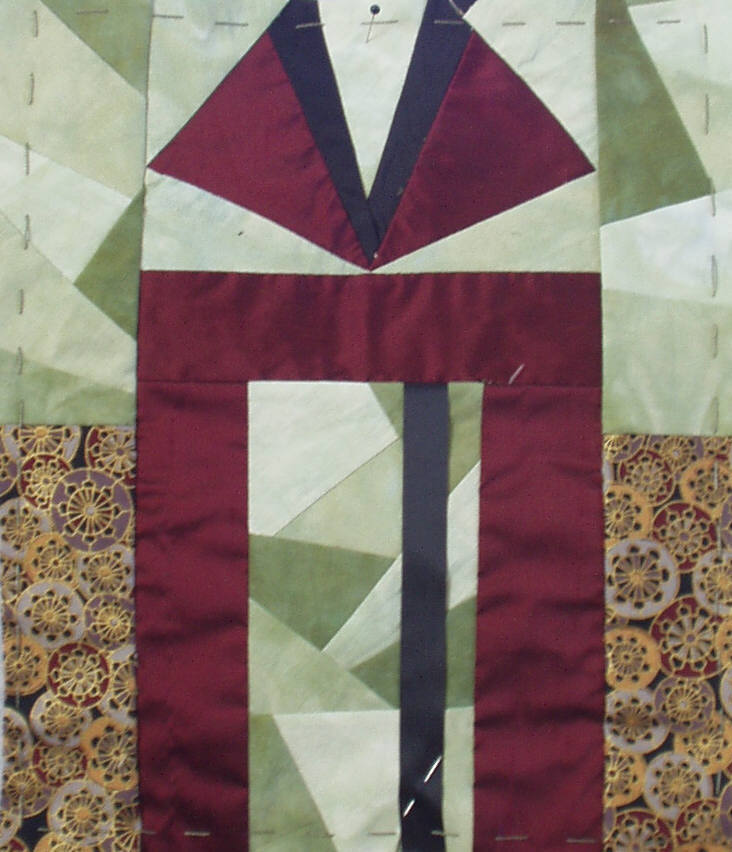
Here are the naked blocks that I started with. I had a great plan for a kimono bag, with the sleeves hanging free down each side like a kimono, but it just wasn't going to be practical, and Elizabet wanted a long handle so she could sling the bag across her body, that plan involved 'hand' (?) handles.
You can see closeup pics on my flickr site (link in sidebar)
Tomorrow I will post how I assembled the bag. I'm not good at linings, so I do things a little differently. You can see that I did make a few changes to the kimono side. I changed the fabric down each side. I felt it was to bold, and I took the black ribbon off the centre panel. It covered alot os stitching, because the seams are so small. It was actually quite fun piecing on a small scale. Maybe their are mini CQ in my future?


WIP


Following my own suggestion, here is a pic of one of my current projects. It is looking very 'plain jane' at the moment, and it won't get to much more exciting, because it's a bag, and I prefer less embellishment on those, but you will see change, and that's the whole point! I do love the flower, it just 'pops' off the block. This will be my first piece I put up for sale.

I am embarking on a DYB RR soon. I am very excited about this, their are some great CQers that will be embellishing a block for me. I am looking forward to be able to complete an entire block. Although I enjoy the RR I am in, I either don't know where to start, or, I don't want to stop, so to not have to stop, once I figure out where to start, will be a great thing!!!
As the block are done I will post the naked block and the finished block and tell you a bit about the wonderful women who have taken this journey with me. It is a very international group, with my blocks going to USx2, Japan x 2 and Portugal, and theirs will come to New Zealand.

heart #38


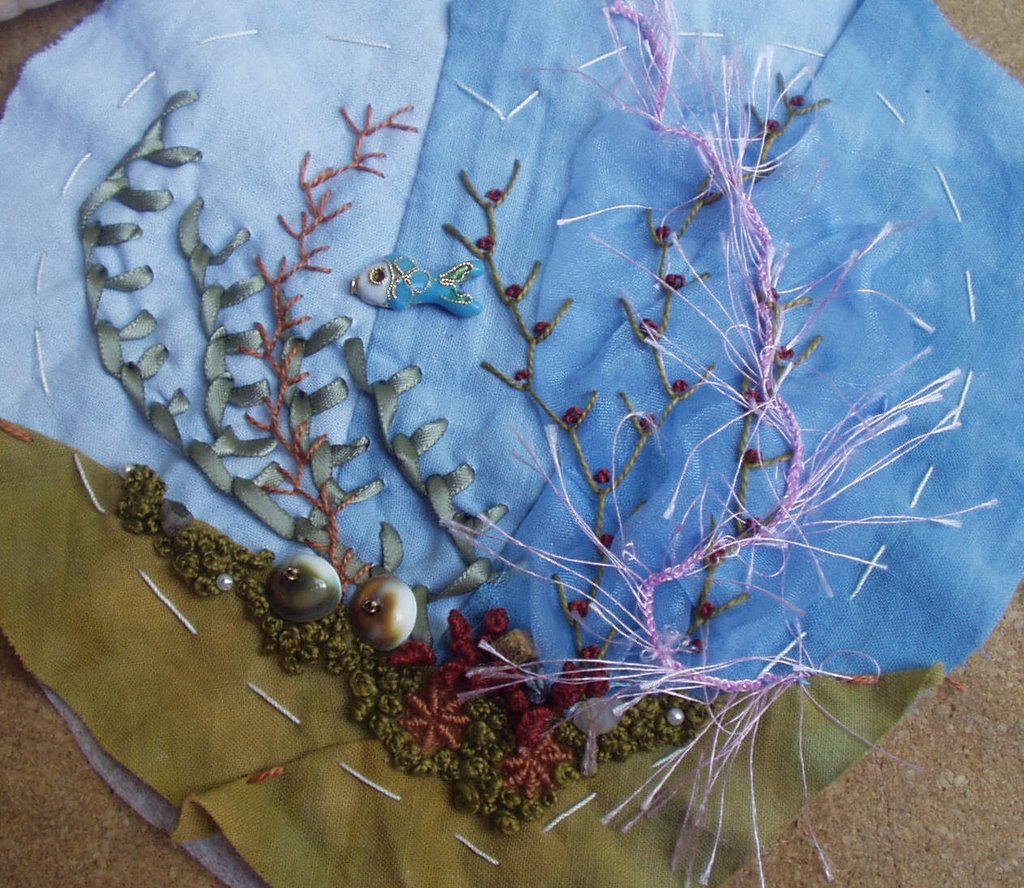
This poor heart has been sitting around for a while, with just the ribbon kelp done. I was finally inspired to finish it. I have offered it to someone who expressed interest a while ago, so it may already be swapped! but I haven't heard from her yet. I think it has turned out quite well. I runched up a square of blue organza on the right, you can just see shadows, it looks like water moving. I had a little fish left from my oriental bag (whoops , did I just give somwthing away LOL). I did some more free form embroidery down the bottom (sorry the pic is not that good). I'm a bit put off by the two cats eyes - with the beads they look a bit like boobies!...but who ever saw a pair of boobies on the ocean floor?

Heart #37 - Day of the Triffids

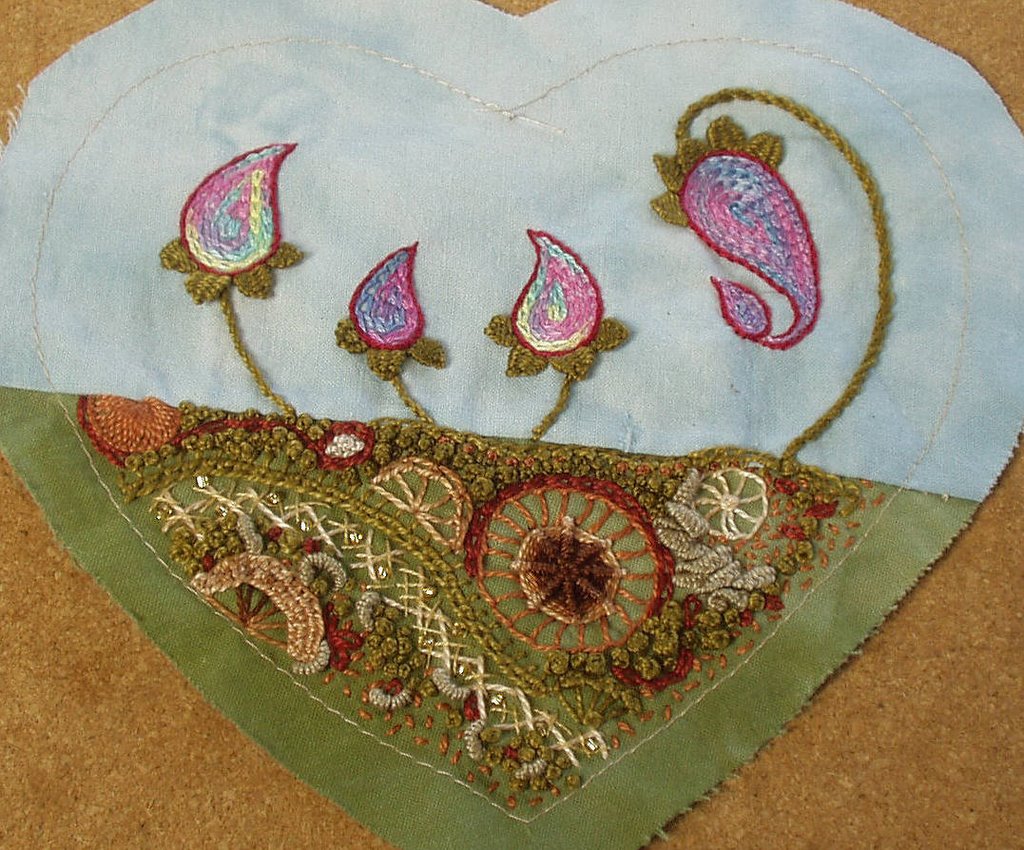
Heart #37 is complete. I love it. This one is going to stay with me. I do have a previous one that I decided to keep, so maybe I will swap that one now. I love the way this has turned out.
The paisley are from the designs that Sharon offered a week or so ago. Over at The Stitching Post Blog, one of the members had inverted the 'flower' which I thought looked very effective...so I have done that here with the big one.

Linda at Chloes Place, left a comment on Sharons blog about seeing the progress of a piece. This reminded me that I really love to see a piece develop, then see all the pics in a row , from the blank block to the finished piece. I am going to try to remember to photo as I go. Especially with this heart, it would have been interesting, for me, to look back and see at what point I added what, and where.

I will post pics of the paisley to the EM group, so for closeups, go see there. Very simple motifs these ones, I wanted the colour to do the talking. The outline is stem stitch, with the inside being chain stitch done in a verigated thread.
There are some really fantastic motifs being posted to the group, so if you have a block with a space to fill, go and have a browse, you are sure to find something you like.

I visited Pat Winters Etsy shop yesterday, and just HAD TO HAVE her selection of 100+ , yes,100+ printed images. I am very excited, I was just talking to Mum yesterday about using her fabric softner, and printer to give this a go...oh and freezer paper, and lets be honest, probably her fabric too!!! , to do some images. I don't think I will ever need worry about images again in my life...all for the princely sum of $6.50 US (about $11 NZ). I recently spent $10 on trade me for 7 images (sold as imperfect). Pat said that the quality is not 100% and she would not use them in her work, but they looked pretty good to me, and probably no worse than what I would achieve with my first few tries. Pat very generously offered to send me some, but I am more than happy to support (all $6.50!) such a fantastic artist...so thanks Pat, you rock.

Heart #38


Here is the heart I am working on. I love the look of some of the samplers that SharonB has done (like on her bags of fun) and I have been dying to give it a go. So here is my effort. I am quite happy with it, but man, I don't think I would want to do an area much bigger. This is true free form embroidery, I just stitched wherever I felt something should be. I did intentionally 'clump' stitches together, my idea being that if it works for gardeners, it'll work for embroiders! I would love your opinions...and constructive feedback. This is new to me, so any comments on improvments will be appreciated.
You will have to wait to see what I do on the top half....

My Oriental Tote


If you read regularly, you will know that I am involved in a bag swap -an oriental themed bag. Well my bag arrived earlier in the week. Elizabet, my fantastic swap partner, has done herself proud. E has been CQing for 6months!! Yuh huh! I just love this bag. I showed it to Rob, and he said "no, you made that didn't you, it's really good". I have used the bag twice so far. It is the perfect size for popping out. It fits my purse, phone, water bottle (big one) and even a nappy and wipes if required, but it's more a 'mummies going out on her own' bag. Elizabet has done some beautiful cross stitch motifs, my favourite being the little geisha in her kimono. And yes, that face is all hand done. The handles were hand turned by Elizabets FIL, and I love the bamboo dragonflys, which made it all the way here in one piece.
I posted my bag on Tuesday, so hopefully by next week I can put pics up. I am hanging out to share it . I hope Elizabet likes it as much as I like mine. All the bags made so far in the swap have been really lovely.
I also posted off the paisley bauble bags. A few posts back I linked to The Stitching Post blog. Go and check out the latest paisley offerings.
I have been working on a new heart, which I think I will keep for myself. I have been experimenting with some sampler type embridery. I am loving it. Will post daylight pics tomorrow. I will be adding a paisley to this heart too.
Goodnight.
ps click on the pics, you'll get big ones, the details are worth looking at.

Embroidered Motif group on Flickr

An new group has been set up on Flickr for pics of your hand done embroidered motifs. It's not just for CQ, but seeing as most of you that stop by here are CQers, then I guess that they will be the main contributers of images. Go and have a look, press the join button, and add some of your work. The more the merrier. Have a read of the blurb to see whats hot and whats not.
Look forward to seeing you there...and thanks to ktj for the great idea.

Hearts

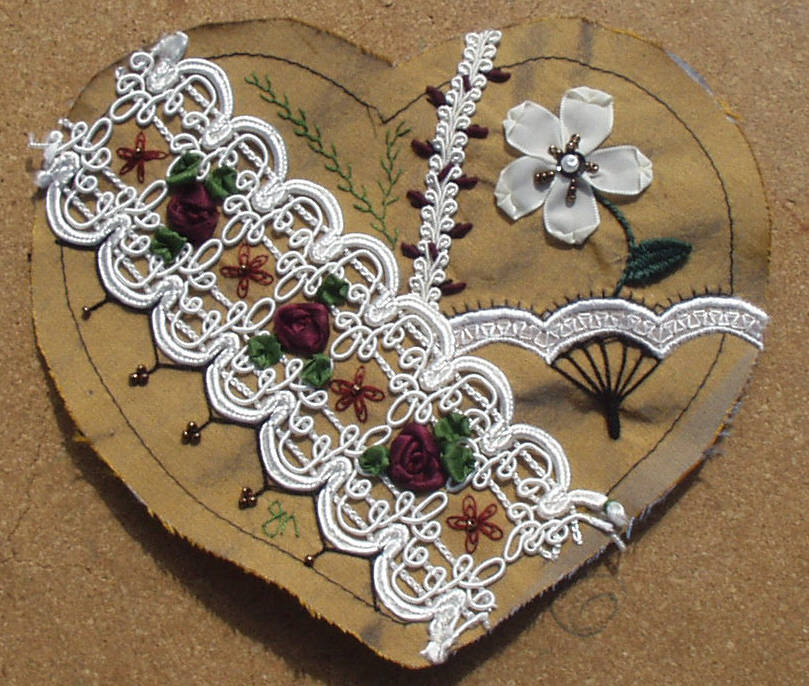
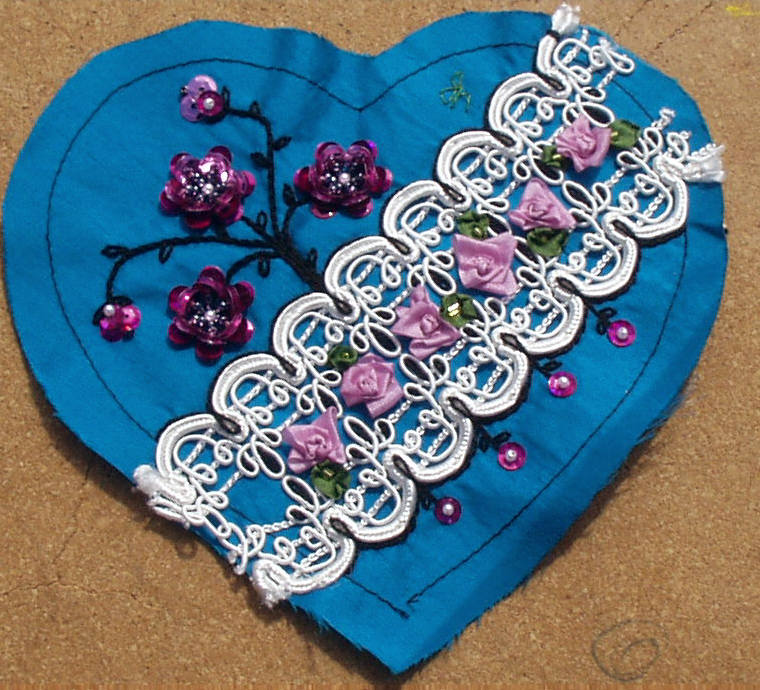
Here are 3 new hearts. May Britt from Abyquilt has first pick, then they will be up for swapping at COHs.


I have finished my bag from the oriental tote swap. Need to get a few goodies to put in it, but hopefully within the next couple of weeks I can finally post pics. It has come together really well. I very pleased with it, and very reluctant to let it go...

Blog Flog

This is an unusual blog flog, because the blog is flogging me!! Now, say that fast three times.
I joined a Toplist to promote this blog, and the lady who owns it mentions all new blogs on her blogs. Oh this post is getting a bit repetative. Anyway, she- Linda Walsh- is passionate about dolls and craft blogs, and does alot to promote them, so go check out what she wrote about me, and check her blogs too.

Very important paisley matters!!

Don't stop here today, you can come back later and catch up with me. Today you must go over to The Stitching Post and see what the gals have been doing in their paisley challenge. If you have a weak heart, don't go, cos what they have done so far is so freakin' good. I also suggest laying a tarp down around your chair, you'll need that to catch the drool.

Sequin Flowers

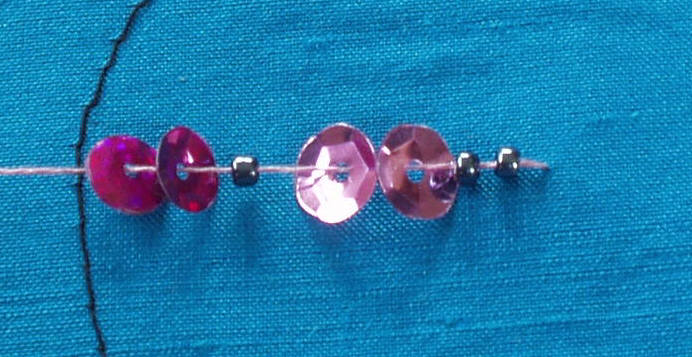
I have been asked to share how I did the sequin flowers. This design came from an Aussie Magazine "Embroidery, Beading and Cross stitch" Vol 12 no7. I apologise for the quality of some of the pics, still trying to work out that little flower closeup function!
Here is the first pic. You need those cupped sequins, and beads. The two black beads are the centre of the flower, so bring your needle up where you would like the centre of you flower to be. Thread on the needle in this order - 2 beads, sequin cupped toward eye of needle, sequin cupped toward point of needle, 1 bead, sequin cupped toward eye of needle, sequin cupped toward point of needle. It is important to get the direction right to get the dimensional effect.
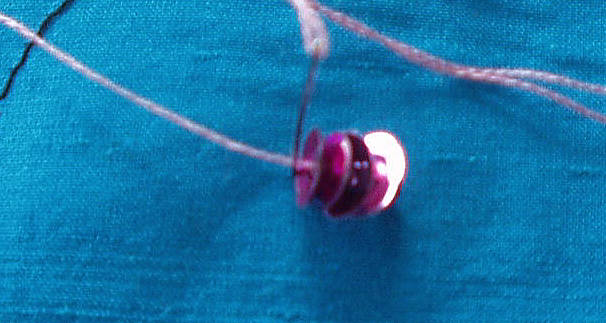
Pic 2. I push everything toward the fabric so it is pushed together fairly snug. Take needle back down thru fabric.
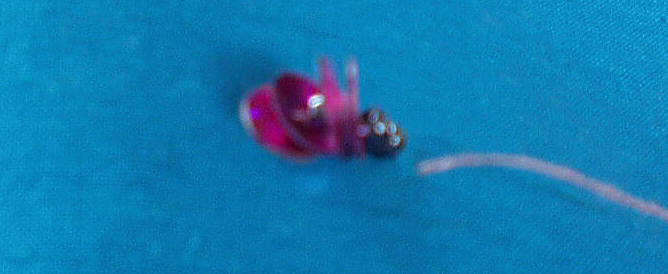
Pic 3. I then do the opposite petal. I have left a small gap, enough to put a contrasting bead for the flower centre.
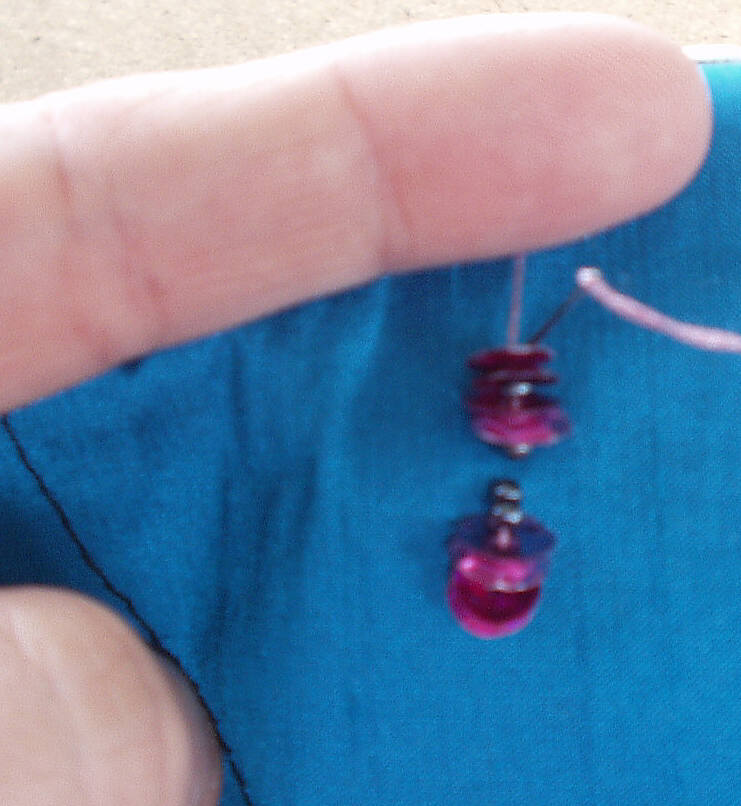
Thread the beads and sequins in the same order. Repeat steps until you have 6 petals. Below is the completed flower. I will put a wee pearl in the centre of this one.
You could probably experiment with the flat sequins, and put a bead between each sequin to give it the dimension. You can't tell by the pic, but I have used darker sequins on the bottom 2 and lighter for the top two.

I hope I haven't done wrong by passing these instructions on. I've credited the mag which is what I believe my obligation to be. If anyone has a huge problem, then contact me privately please...otherwise enjoy. I look forward to seeing what you come up with.

Heart #34.....and paisley


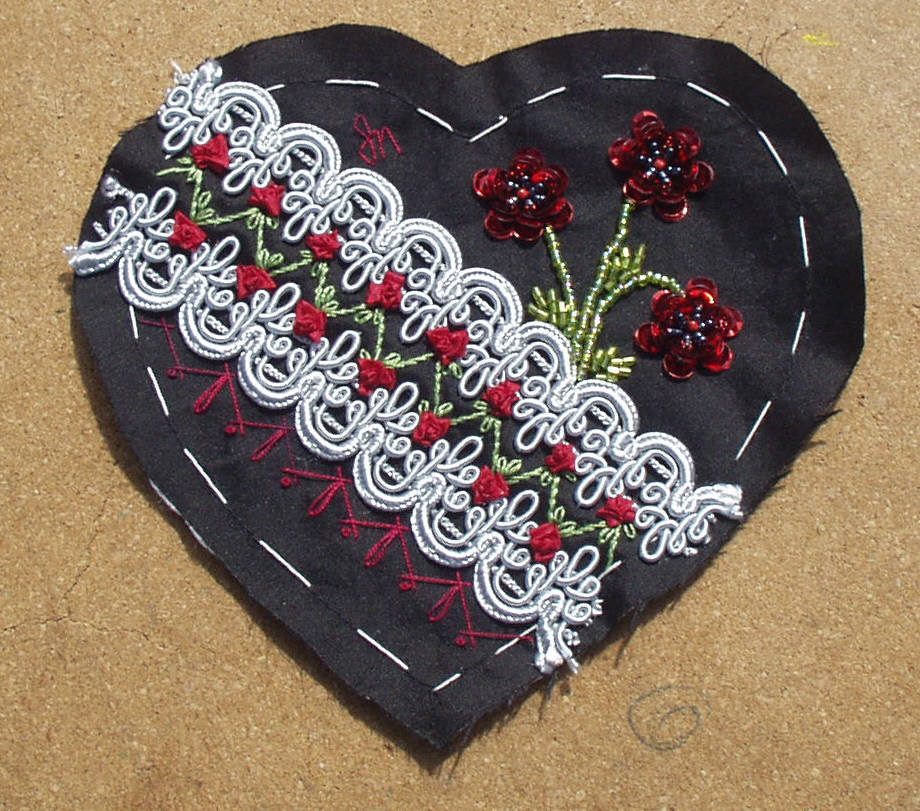
Yes, you read right, I am making hearts. There are a heap of new members over at COH, and I'm missing out on some great stuff. So here is number #34. Black silk dupion, grey trim, green beads, red sequins and red ribbon. I found these flowers in an Aussie mag. They are really easy to do, and quite effective. Below is a shot to show how dimensional they are.
I'm not putting these up for swap yet. There are a couple of people holding hearts for me, so they will get first pick once they are all done. They will be similar to this, but diff colours.


The Stitching Post is an Embroidery yahoo group ( I'm not a member, but only because there is not enough hours in the day) the group have started a paisley challenge. They have a blog here, so visit regularly, and see what they are up to.
The are using sharonBs designs that you will find here. Ktj has already made a fantastic start. That girl can stitch. I particularly like the design that ktj choose, the flower. I might try this one myself.
If you want to know more about that group, leave a comment, and ktj will fill you in.
You will find a rundown of paisley participants in this post.

I am off to a workshop tonight, as a participant, rather than a facilitator. It is a 'play' workshop on visual art ( paint, collage etc). We offer workshops that focus on a particular area of play that we provide at Playcentre. The idea is that the parents experince the play for themselves, and thru that gain an understanding of how that play supports preschool learning. I like them because I get to play and be creative for a couple of hours without a needle and thread. Although the last one I did I ended up doing feather stitch with that paper ribbon stuff, a hole punch and wool!

Paisley bag #3 complete.


We have had a very nice Father's Day here in NZ. The kids have all behaved well today, for a change. We did have to point out the new framed art on the wall!! but thats a bloke for you.

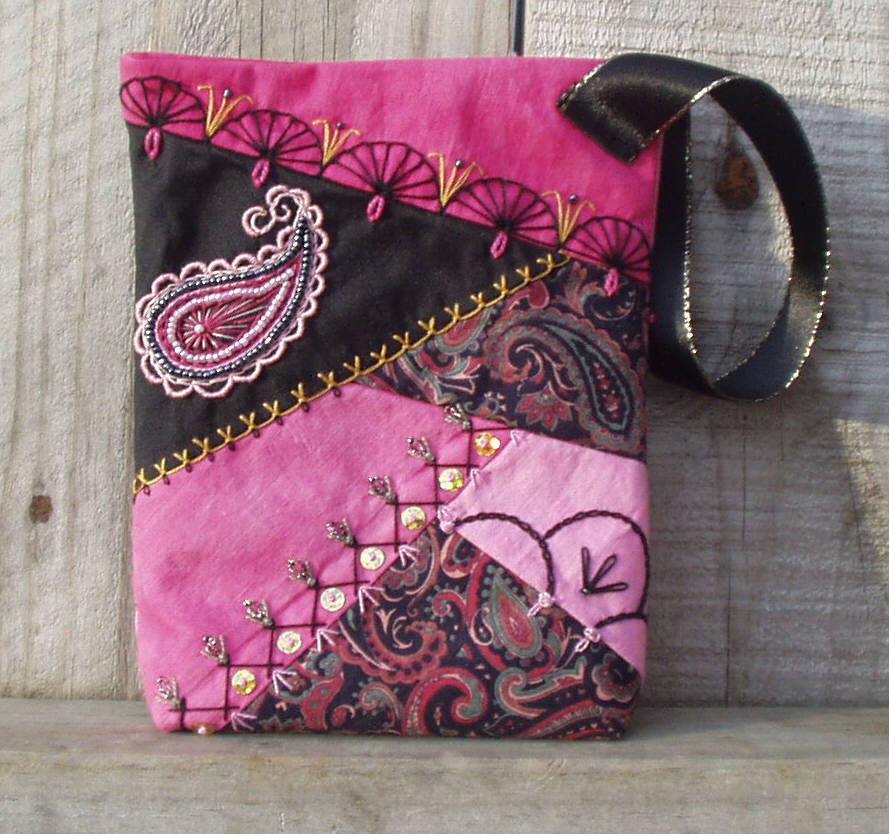
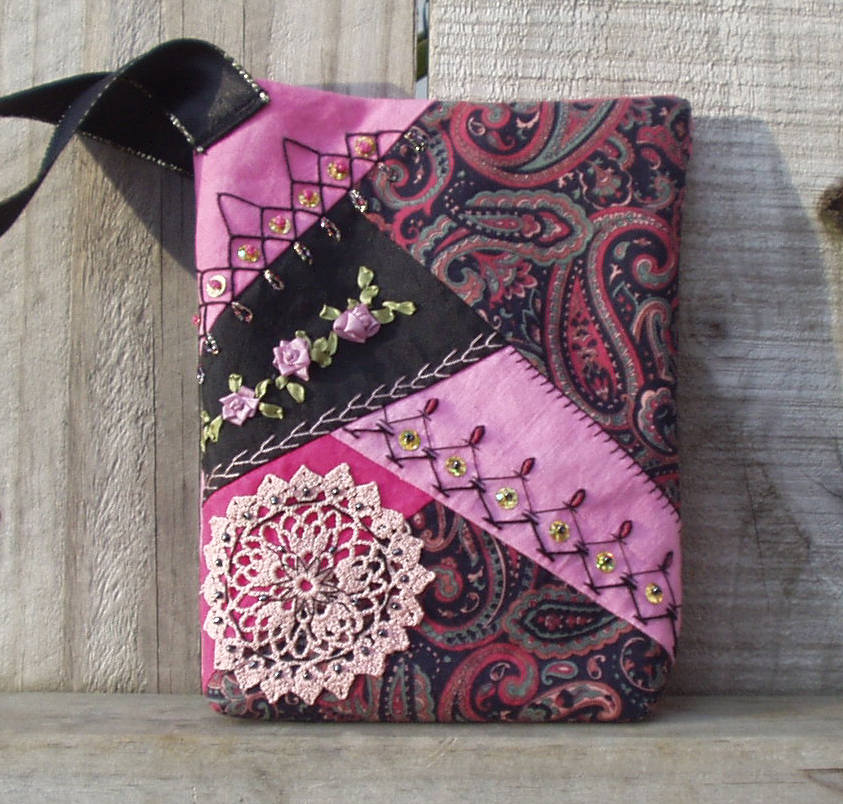
Here is pics of my finished paisley bag. This one I added a wrist strap, and a magnetic clasp closure.
I am looking for the 'perfect' buttons to add at the bottom of each handle.
Below are pics of the clasp,which are great....if you can get them in the right place.... and Brooke holding the bag, so you get an idea of the size.


The Children


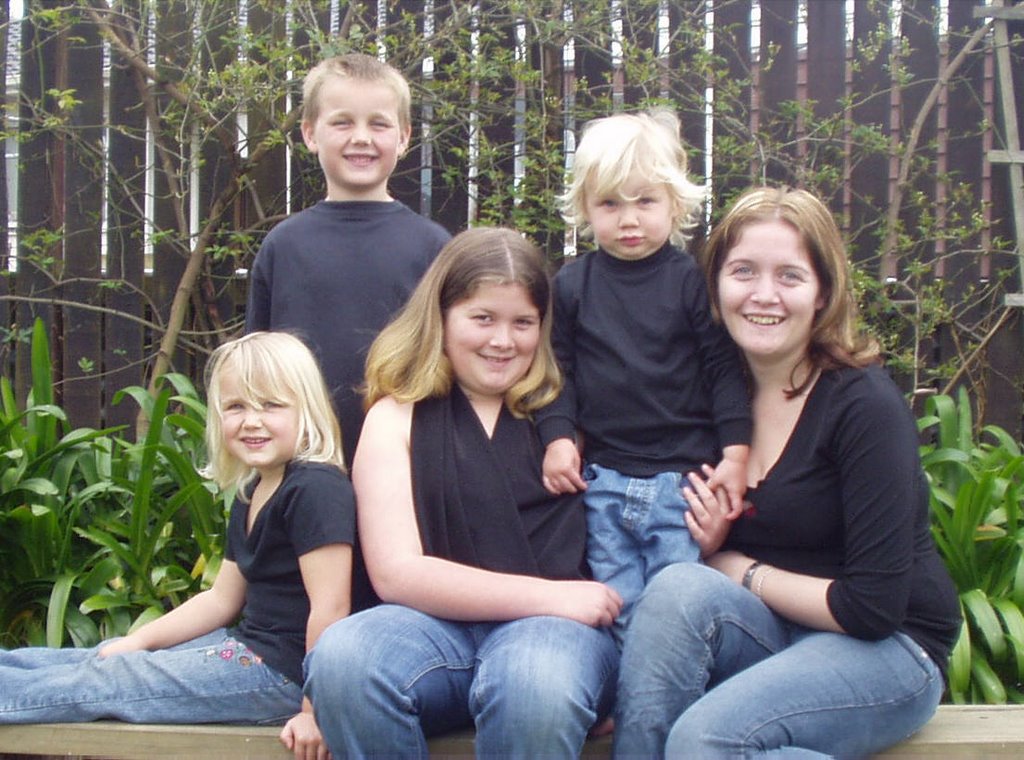
My step daughter Tiffany wanted to do a nice portrait thing for her dad for Fathers Day (tomorrow), so we got rid of Rob today with a little help from his sister, took a few pics out in the garden, framed it up, and bisto, a fantastic Father's Day gift.
From left to right Brooke, Ben ,Shelby (stepdaughter) Jonathan, Tiffany (stepdaughter).

A bit more paisley

Two fabulous CQers have hopped on this wagon.
SharonB at In A Mintue Ago has completed (just in the nick of time) a paisley postcard.
Pam Kellogg at Kitty and Me Designs has added a charted paisley motif for our enjoyment.


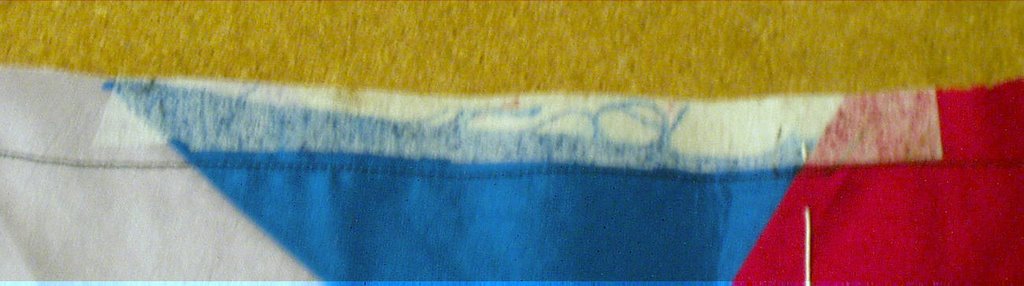
Here's a tip for today. I find that when I work with the silk dupion, it often frays, ALOT. Now, I have said before that my machine only sews straight lines ( therefore no zigzag), so while sewing a block, I grabbed some off cuts of vilene (fusable lining), sandwiched the edge between it and pressed it with the iron . Whalah! No more fraying.

The smell is kinda lingering, depending on which way I hold my tongue, but it's not nauseating like it was. Thanks for all your suggestions and possible causes.